Disclaimer: This content is for educational purposes only, not medical advice. Always consult with a doctor before making significant changes to your diet, especially if you have pre-existing health conditions.
Vintage Christmas Cake Dip Cups are individual no-bake desserts with a fluffy vanilla cake-batter flavor, a creamy texture, and cheerful holiday sprinkles. They bring nostalgic Christmas colors to your dessert table without the work of baking and frosting a full cake. Serve them chilled in mini cups.
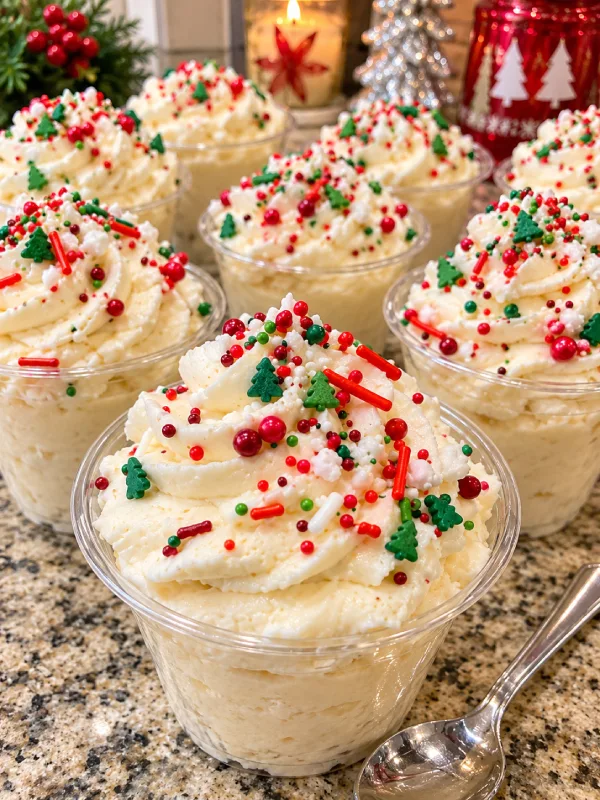
The Story & Intro
The first Christmas dessert I remember making without a plan involved a cake that came out of the oven far too dark. I had wanted something pretty for the holiday table, but I learned that a festive dessert doesn’t need perfect layers or fancy decorating.
That lesson still guides my cooking in Asheville, North Carolina. I’m Olivia White, the home cook behind EATYER, and I love recipes that help beginners enjoy the kitchen without unnecessary stress.
These Vintage Christmas Cake Dip Cups bring that easygoing spirit to the holidays. They combine vanilla cake mix, cream cheese, whipped topping, and red-and-green sprinkles in small portions that look lovely on a party tray. You can prepare them ahead, chill them, and serve them with tiny spoons. No oven time for a cake, no frosting bags full of complicated decorations, and no slicing at the party.
Table of Contents
KEY TAKEAWAYS: What You Need To Know
- What they are: Individual cups of fluffy, vanilla cake-flavored dessert dip.
- Why they work: Cream cheese gives the filling body, while whipped topping keeps it light.
- Who they’re for: Home cooks, holiday hosts, and anyone who enjoys easy party desserts.
- When to serve them: Christmas parties, cookie exchanges, family gatherings, and holiday potlucks.
- How to make them: Heat-treat the cake mix, beat the creamy base, fold in whipped topping, portion, and chill.
What Makes Vintage Christmas Cake Dip Cups Special?
A nostalgic Christmas dessert in individual portions
Vintage Christmas Cake Dip Cups take the familiar flavor of vanilla cake batter and turn it into a spoonable holiday treat. The cream cheese adds a gentle tang, powdered sugar sweetens the mixture, and whipped topping gives every bite a soft, airy finish.
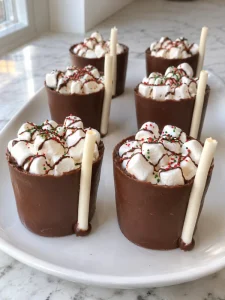
The individual cups make serving simple. Guests can pick up a portion without sharing a serving bowl or waiting for someone to cut a cake. I like using clear 2-ounce cups because they show off the pale filling and colorful sprinkles.
The word vintage describes the nostalgic look and flavor. Think classic vanilla cake, old-fashioned Christmas colors, and a simple dessert-table presentation. It doesn’t mean this recipe comes from a verified historical cookbook.
Why make dessert cups instead of a full cake?
These cups suit busy holiday schedules. You don’t need to bake cake layers, wait for them to cool, or spread frosting evenly. Instead, you prepare one bowl of filling and divide it among small cups.
They also help with portion control. Since the filling tastes rich and sweet, a small serving often feels just right.
For more ideas to plan your holiday menu, browse the EATYER recipe collection. You can balance a sweet dessert table with savory dishes such as chicken broccoli rice casserole or tortellini casserole.
Ingredients for Vintage Christmas Cake Dip Cups
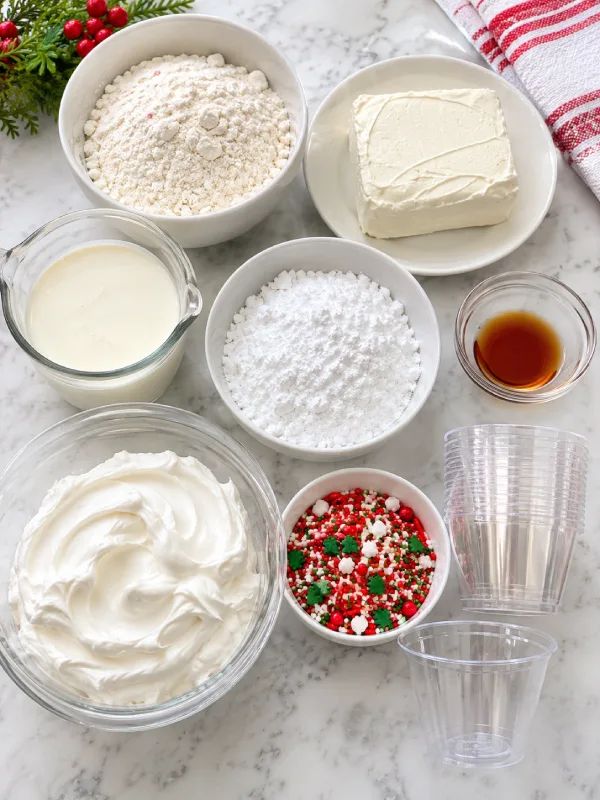
What you’ll need
This recipe makes about 18–20 mini cups, depending on how generously you fill them.
| Ingredient | Amount | Purpose |
|---|---|---|
| Vanilla cake mix | 1 box (15.25 oz) | Gives the filling its cake flavor |
| Cream cheese | 8 oz | Creates a rich, smooth base |
| Powdered sugar | 1 cup | Sweetens the filling |
| Vanilla extract | 1 teaspoon | Deepens the vanilla flavor |
| Heavy whipping cream | ½ cup | Loosens the cake mixture |
| Whipped topping | 8 oz, thawed | Adds a fluffy texture |
| Red and green sprinkles | ¼ cup | Adds Christmas color |
| Mini dessert cups | 18–20 | Holds individual portions |
Important: Don’t add raw cake mix straight from the box. Cake mix contains raw flour, which can carry harmful bacteria. Follow safe handling guidance from the FDA’s flour safety advice. Heat-treat the mix before you add it to this no-bake dessert.
Ingredient tips for a smooth filling
- Cream cheese: Let it soften at room temperature so it blends without lumps.
- Whipped topping: Thaw it in the refrigerator. Keep it cold until you fold it into the mixture.
- Sprinkles: Choose red and green jimmies or confetti sprinkles. Add most of them near the end to preserve their color.
- Cake mix: Use vanilla or classic white cake mix for a traditional cake-batter flavor.
How To Make Vintage Christmas Cake Dip Cups
Step-by-step instructions
1. Heat-treat the cake mix. Preheat your oven to 350°F. Spread the dry cake mix in a thin, even layer on a baking sheet. Bake for about 5–7 minutes, checking that it reaches 165°F throughout with a food thermometer. Let it cool completely before using it.
2. Beat the cream cheese. Add softened cream cheese and powdered sugar to a large mixing bowl. Beat until smooth and fluffy. Scrape the sides and bottom of the bowl so no firm pieces remain.
3. Add the vanilla and cake mix. Mix in the vanilla extract. Add the cooled cake mix and blend until combined. The mixture will look thick at this stage.
4. Add the heavy cream. Pour in the cream gradually while mixing on low speed. Stop when the filling looks smooth.
5. Fold in the whipped topping. Use a spatula to gently fold in the thawed whipped topping. Avoid vigorous mixing because it can flatten the airy texture.
6. Add the sprinkles. Fold in about 2 tablespoons of sprinkles. Save the rest for the tops of the cups.
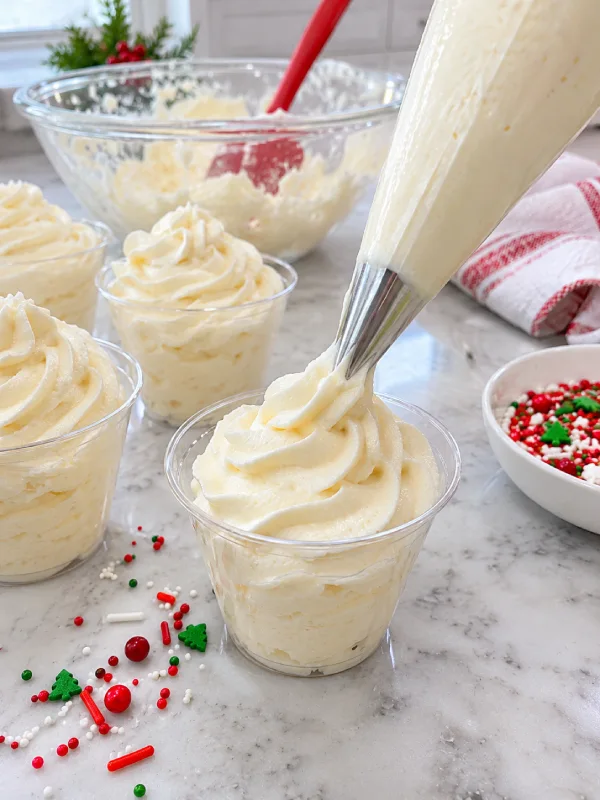
7. Fill and chill. Spoon the mixture into mini dessert cups, or pipe it with a large star tip for a decorative swirl. Sprinkle the tops, cover, and refrigerate for at least 1 hour before serving.
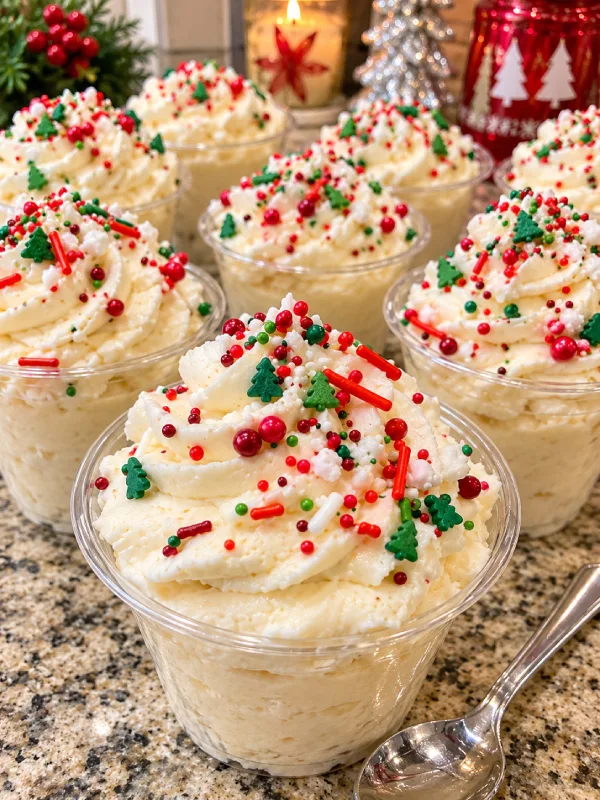

Vintage Christmas Cake Dip Cups
Ingredients
Equipment
Method
- Preheat your oven to 350°F (175°C). Spread the dry vanilla cake mix in a thin, even layer on a baking sheet. Bake for about 5–7 minutes, checking that the mixture reaches 165°F throughout with a food thermometer. Let the heat-treated cake mix cool completely before using it in the dessert filling.
- Add the softened cream cheese and powdered sugar to a large mixing bowl. Beat with an electric mixer until the mixture becomes smooth and fluffy. Scrape the sides and bottom of the bowl as needed to make sure no firm pieces of cream cheese remain.
- Mix the vanilla extract into the cream cheese mixture. Add the completely cooled, heat-treated vanilla cake mix and blend until everything is combined. The filling will look thick at this stage.
- Gradually pour in the ½ cup heavy whipping cream while mixing on low speed. Continue mixing until the filling becomes smooth, stopping once the ingredients are fully incorporated.
- Using a spatula, gently fold the 8 ounces of thawed whipped topping into the cake mixture. Work slowly and avoid vigorous mixing so the filling keeps its light, airy texture.
- Gently fold about 2 tablespoons of red and green Christmas sprinkles into the filling. Reserve the remaining sprinkles for decorating the tops of the dessert cups.
- Spoon the creamy filling into 18–20 mini dessert cups, or transfer it to a piping bag fitted with a large star tip to create decorative swirls. Sprinkle the remaining red and green decorations over the tops. Cover the cups and refrigerate for at least 1 hour before serving. Serve chilled with mini spoons.
Notes
How do you get neat, fluffy dessert cups?
Use softened cream cheese and completely cooled cake mix. Those two details make a big difference. If the filling feels too soft to pipe, chill the mixing bowl for 15–20 minutes and try again.
A piping bag creates a pretty swirl, but you don’t need special equipment. A small cookie scoop or spoon works just as well. The goal is a tasty, tidy dessert—not perfect bakery decorations.
Serving Ideas, Storage, and Make-Ahead Tips
How should you serve these Christmas dessert cups?
Serve Vintage Christmas Cake Dip Cups cold, straight from the refrigerator. Add a mini spoon to each cup or arrange the spoons beside the tray. A small serving size works well because the filling has a rich, sweet flavor.
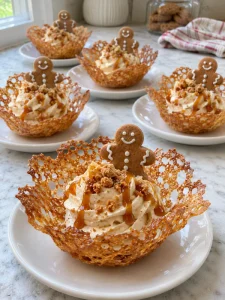
For a pretty Christmas display, arrange the cups on a white platter and scatter a few extra sprinkles around the base. You can also add a tiny cookie beside each cup.
They pair nicely with hot cocoa, coffee, or tea. For a larger holiday menu, serve them after a savory dish such as cheddar bay biscuit casserole or Doritos casserole. If you’re planning a festive breakfast table, banana overnight oats and strawberry overnight oats offer easy make-ahead options.
Can you make them ahead?
Yes. Prepare the cups up to one day before serving. Cover them and refrigerate until party time. For the freshest appearance, add a final pinch of sprinkles shortly before serving.
Store leftovers in a covered container in the refrigerator and enjoy them within 2–3 days for the best texture. Keep the cups cold during your gathering, and return leftovers to the refrigerator promptly.
I don’t recommend freezing these cups. Cream cheese and whipped topping can change texture after thawing, leaving the filling less smooth.
Helpful Tips and Easy Variations
What can go wrong, and how can you fix it?
| Problem | Likely reason | What to do |
|---|---|---|
| Lumpy filling | Cream cheese was too cold | Soften it before mixing |
| Runny filling | Too much liquid or warm ingredients | Chill the mixture before piping |
| Flat texture | Whipped topping was overmixed | Fold gently with a spatula |
| Dull sprinkles | Sprinkles went in too early | Save some for the final topping |
| Filling won’t pipe | Mixture needs to firm up | Refrigerate for 15–20 minutes |
Easy ways to change the flavor
- Peppermint style: Add a small amount of peppermint extract and use crushed peppermint candy on top.
- Chocolate version: Use chocolate cake mix and chocolate sprinkles.
- Classic vanilla: Keep the original vanilla mix and use gold, white, and red sprinkles.
- Cookie topping: Add a small cookie beside each cup just before serving.
Keep any flavor additions modest. Too much liquid extract or crushed candy can change the texture. If you enjoy planning a full dessert spread, pair these cups with a rich treat such as chocolate overnight oats for a holiday brunch menu.
Reader testimonial note: Add a genuine comment from an EATYER reader here after someone has tried the recipe. I won’t invent a reader review or attribute a quote to someone who hasn’t provided one.
Frequently Asked Questions
Do I need to bake the cake dip?
No. You don’t bake the finished dip. However, you must heat-treat the dry cake mix before adding it to the filling because raw flour can carry harmful bacteria.
Can I make Vintage Christmas Cake Dip Cups the day before?
Yes. Prepare and portion the cups one day ahead. Cover and refrigerate them, then add a little fresh decoration before serving.
Can I use homemade whipped cream?
Yes, but whip cold heavy cream to soft peaks first. Homemade whipped cream may not hold its shape as long as stabilized whipped topping, so keep the cups chilled.
What size cups work best?
Use clear 2-ounce or 3-ounce dessert cups. These sizes create neat individual portions and make the filling easy to serve with mini spoons.
Can I serve the dip in one large bowl?
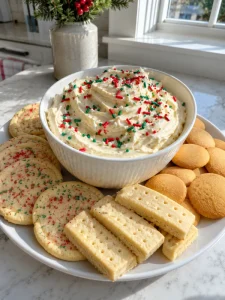
Absolutely. Spoon the filling into a serving bowl, add sprinkles, and place cookies or graham crackers nearby for dipping. The mini cups simply make party portions easier.
How long can the cups sit out?
Keep these dairy-based desserts refrigerated until serving. Set out a small batch at a time rather than leaving the full tray at room temperature throughout a long party.
Conclusion / Final Thoughts
Vintage Christmas Cake Dip Cups bring a little nostalgic charm to the holiday table without complicated baking. The creamy vanilla filling, colorful sprinkles, and individual portions make them a lovely choice for Christmas parties, family gatherings, and cookie exchanges.
I love recipes like this because they leave room for the fun parts of cooking. You can prepare the cups ahead, decorate them simply, and spend more time with the people around your table. From my Asheville kitchen to yours, I hope these easy dessert cups bring a sweet moment to your Christmas celebration.
10 thoughts on “Vintage Christmas Cake Dip Cups: Easy, Creamy Holiday Dessert”